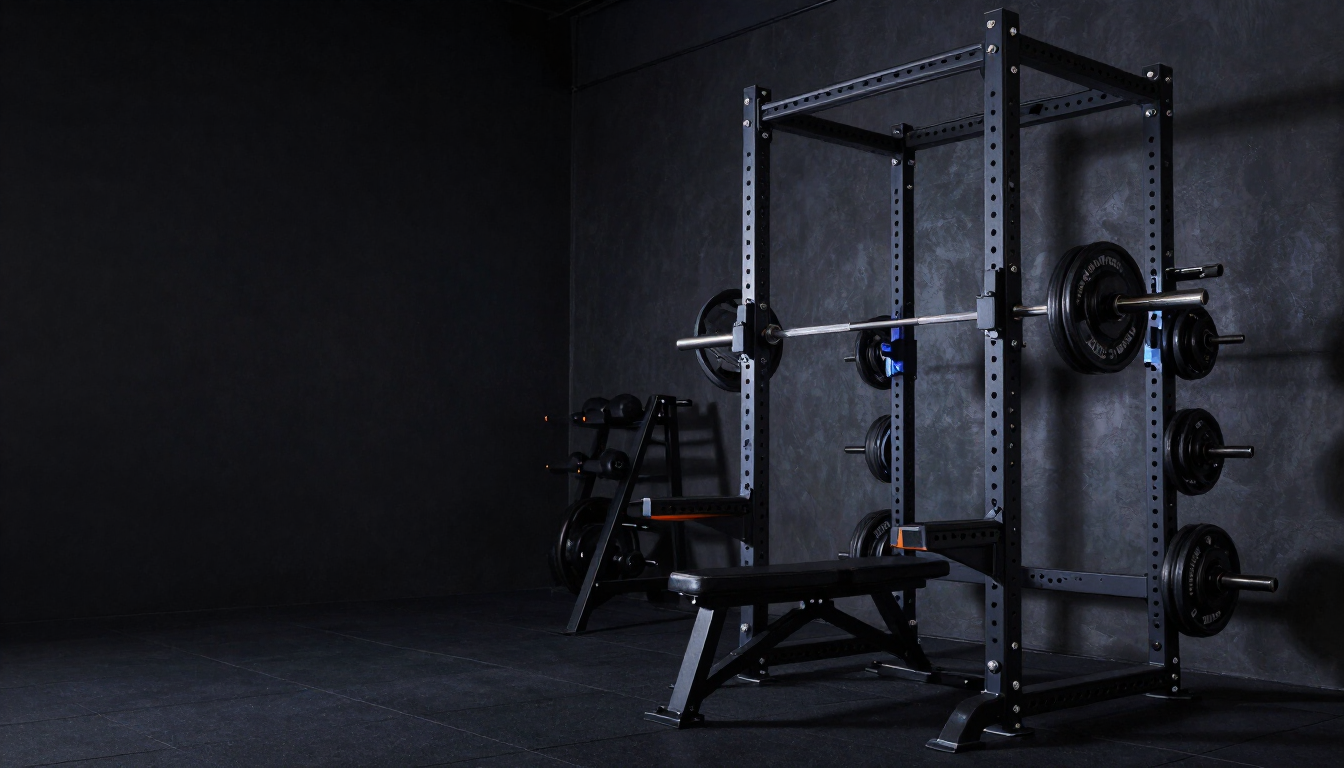
1. Measure height and working clearance
A rack that physically fits may still be awkward to use. Measure ceiling height and think about the movements you intend to perform. Pull-ups and overhead movements may need more clearance than the rack itself. Check beams, lights and door tracks, not just the highest part of the ceiling.
Measure the access route for delivery and assembly. Some equipment arrives in long or heavy packages. Check whether assembly needs the rack to be tilted or raised and whether the manufacturer specifies clearance around the structure. Do not count on moving a fully assembled rack through a narrow doorway.
2. Plan the floor and footprint
Map the rack footprint, the bench position and the barbell’s full length. Leave room to load plates and move around the station. Weight storage attachments can increase the occupied area. A compact rack description does not tell you how much usable space the complete setup needs.
Read installation requirements carefully. Some designs must be anchored; others have specified conditions for freestanding use. Flooring alone does not replace anchoring or establish the load-bearing capacity of your building. Get qualified help if the structure or installation is uncertain.
3. Understand the safety system
Identify the safety attachments supplied with the exact model and read how they are used. Pins, straps and spotter arms have different adjustment and compatibility requirements. A rack’s headline capacity does not necessarily apply to every attachment or every way of loading it.
Learn how to position the safety system for your exercise before lifting. Inspect equipment and follow the manufacturer’s guidance. Equipment is not a substitute for technique, sensible loading or appropriate supervision. If you are new to rack-based lifting, qualified coaching can help you use the station properly.
4. Confirm the bar and bench fit
Check that the bar’s usable shaft length works with the rack width. Sleeve diameter determines plate compatibility, but rack fit involves other dimensions too. Verify the bar, plates, collars and rack as a system rather than purchasing each piece independently.
Bench height, length and adjustment positions can affect your working space. Check whether it can sit where you need it without interference from crossmembers. The rack’s photos may show a configuration that uses accessories not included in the base price. Read the included-items list closely.
5. Evaluate the next upgrade
If you plan to add attachments, confirm the upright size, hole spacing and hardware dimensions. Similar-looking parts are not necessarily interchangeable. Third-party compatibility claims need verification, especially for components that support a load or form part of a safety system.
Build the full cost before ordering: rack, required safety components, compatible bar, plates, delivery and installation. Then compare warranty support and spare parts. A rack is a foundational purchase, so a clear, compatible setup is more valuable than the longest accessory list.
Equipment to explore
Compare exact models, current prices and verified reviews before you buy. These links open Amazon search results, not a specific recommended model.
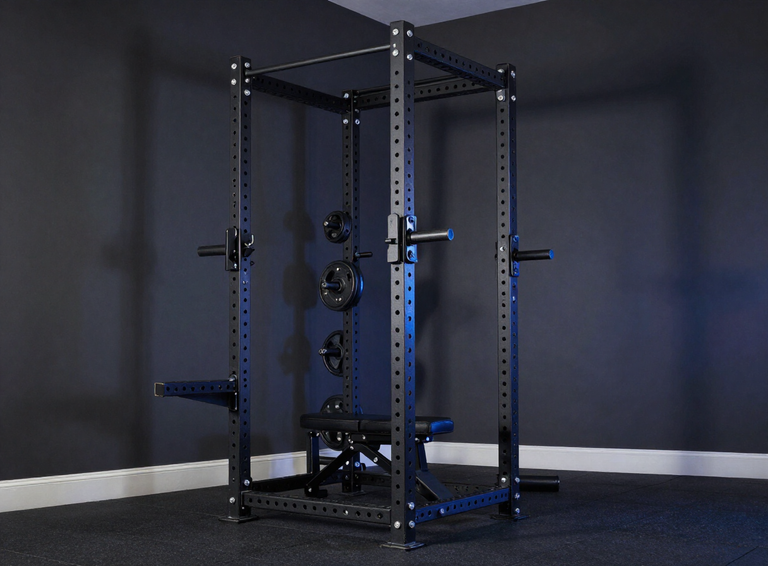 STRENGTH FOUNDATIONILLUSTRATIVE IMAGE
Strongway Multi Gym Smith Machine with Weights
Build around a secure lifting station. Verify footprint, safety attachments and rated capacity.
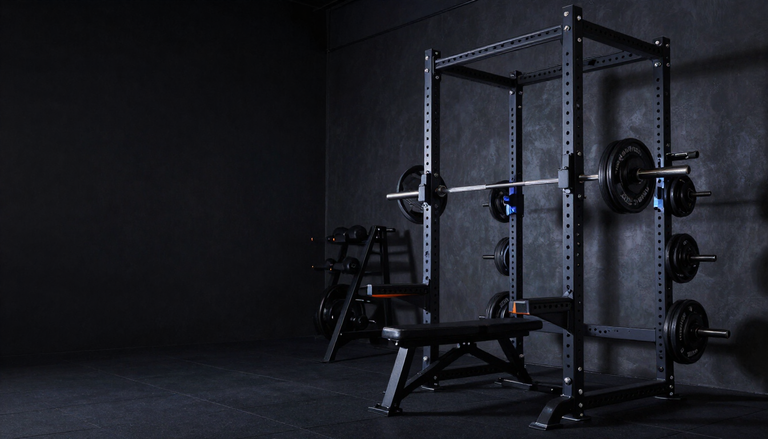 BUILD YOUR BASEILLUSTRATIVE IMAGE
Strongway® 6FT 7FT Olympic Bar Barbell Weight Lifting Fitness Gym Equipment
The centerpiece of a barbell setup. Confirm sleeve size, length and compatibility with your rack.